Swapping Heroku with Render and fly for your full stack React app
Topics: React
If you are following some tutorial for a project that still relies on Heroku which is not free anymore, and you want a free alternative, continue reading 🙂
I was doing a final project for The Complete Web Developer in 2023: Zero to Mastery which is still using Heroku for hosting the project. Since the project is just for fun and learning, I wanted to find a host that gives the PostgreSQL database hosting for free for small hobby projects. Enter fly.io.
In this guide Render.com will be used to host the front-end (because fly.io kept crashing while I was trying to build the front-end, probably lack of resources on free tier), and fly.io will be used for the back-end app.
Front-end part
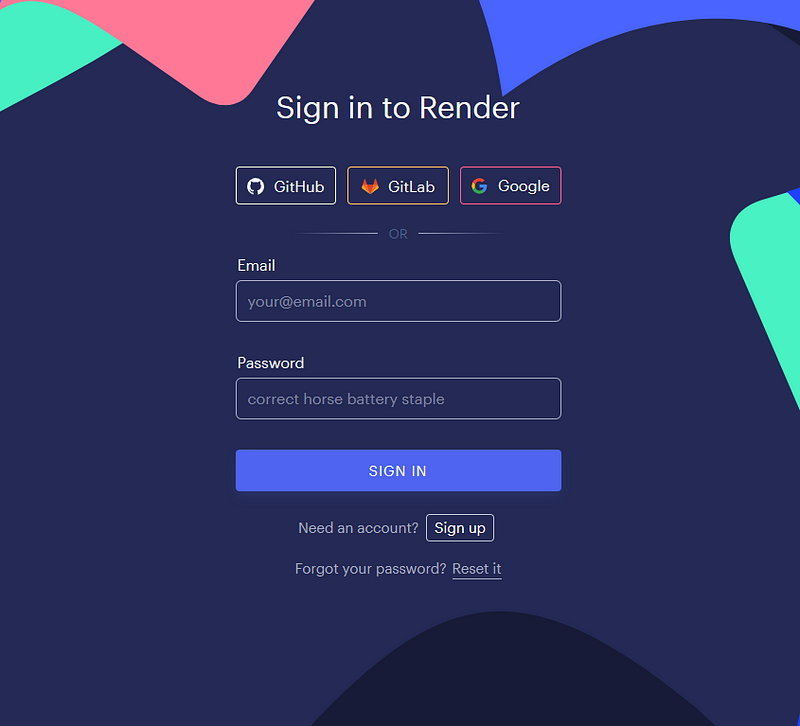
Step 1: Create a render.com account
Go to Render.com and make a free account. Quickest way is to use your Github account for the signup because it will be automatically linked with your repositories for easy deployment.
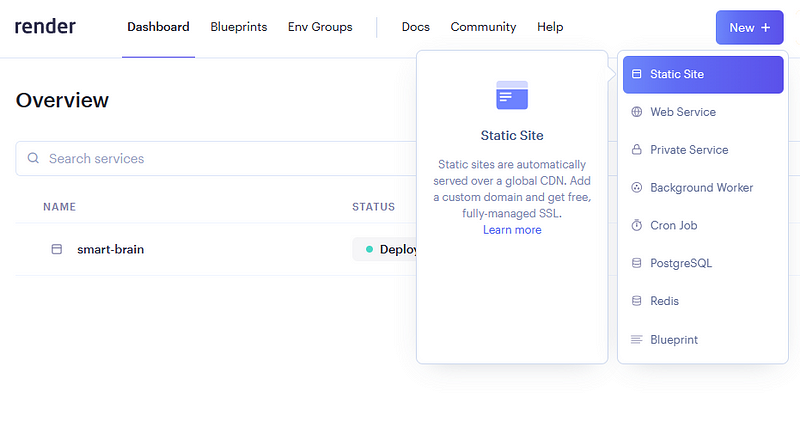
Step 2: Deploy the front-end app
Find the “New +” button on the dashboard and choose “Static Site”.
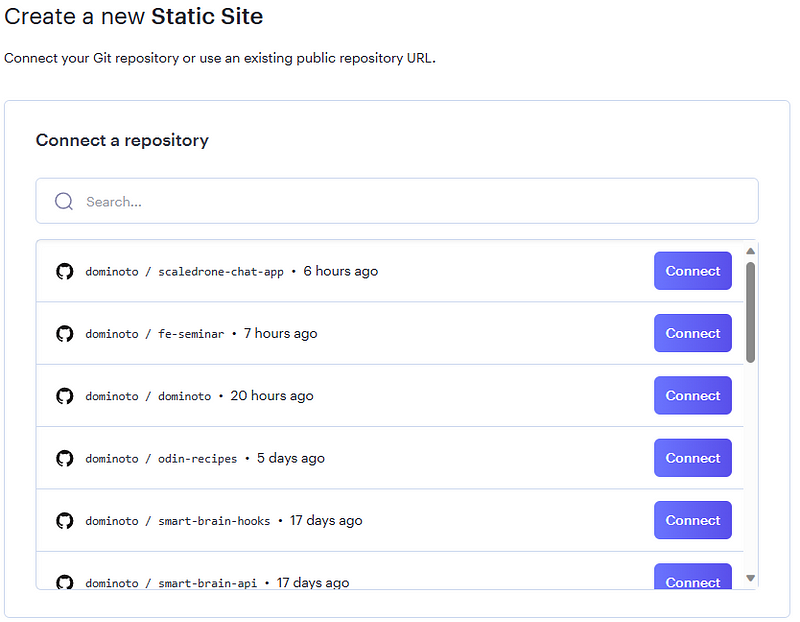
Then connect a repository that has your front-end app by clicking on the “Connect” button.
After that fill the necessary info for the app, choose a name for the app, git branch and write the build command. If you are using npm instead of yarn, write
npm run build
Click on “Create Static Site” and wait a couple minutes for it to deploy.

Back-end part
Step 3: Create a fly.io account
Go to fly.io and make a free account (Hobby plan), you can use Github account for convenience, same as with Render.
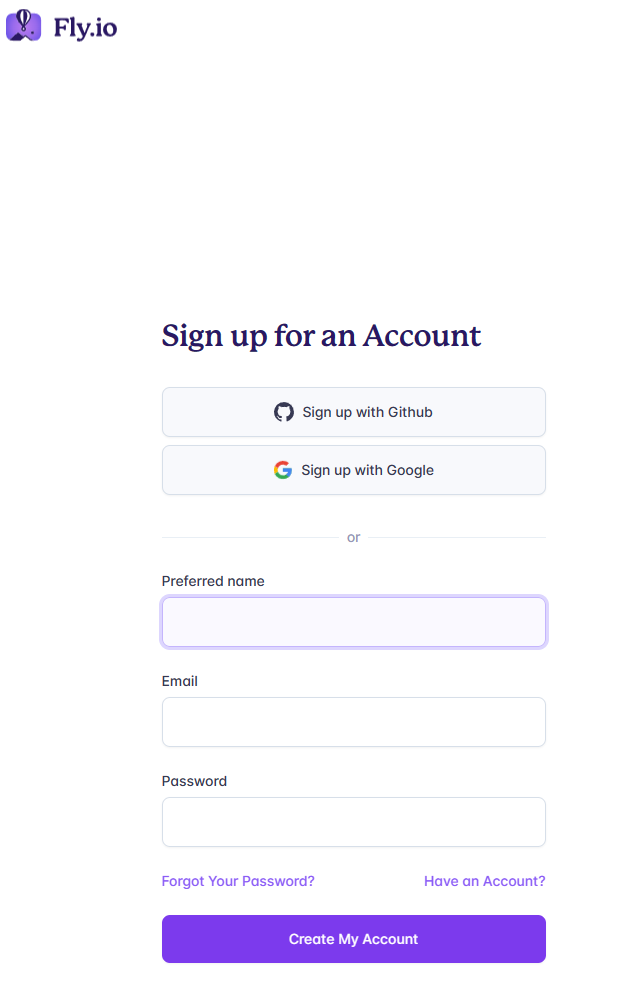
Some time during the process you will be asked for your credit card info. Since you’ll be using a Hobby plan, you will not incur any charges for small project using lowest-tier hardware.
Step 4: Install and use “flyctl” command-line utility
Next, you need to install “flyctl” command-line utility. Check this official guide: Install flyctl · Fly Docs.
Since I’m using Linux (WSL2), I used the command
curl -L https://fly.io/install.sh | sh
After that, you need to sign in through your terminal with
fly auth login
Per fly.io documentation, WSL users might need to run following command
ln -s /usr/bin/wslview /usr/local/bin/xdg-open
Now you can use “fly” or “flyctl” commands for deployment.
Run
fly launch
while positioned in your project folder to start the deployment process.
It will ask you to “Choose an app name”, name it anything you like or leave empty for auto name generation.
Organization will probably be automatically chosen as “Personal”, leave it like that.
Next, “Choose a region for deployment”. I used “ams” for Amsterdam.
At this point, flyctl creates a shell of an app for you and writes a starter configuration to a “fly.toml” file.
Last is “Select configuration” prompt. Choose Development — Single node since it’s free.
Step 5: Create a PostgreSQL database
Then, you will be asked if you need a Postgres or Redis database. I chose Postgres for my project. You will get the database info which you should copy somewhere safe (username, password, hostname, ports…) because you’ll need it later.
Finally, it will ask you “Would you like to deploy now?”. You can do the initial deployment now, even though you will need to redeploy later after changing some things.
Open “fly.toml” and under internal port check or write 5432, like so
internal_port = 5432
Step 6: Create a PostgreSQL database
You can run
flyctl postgres connect -a your_db_name
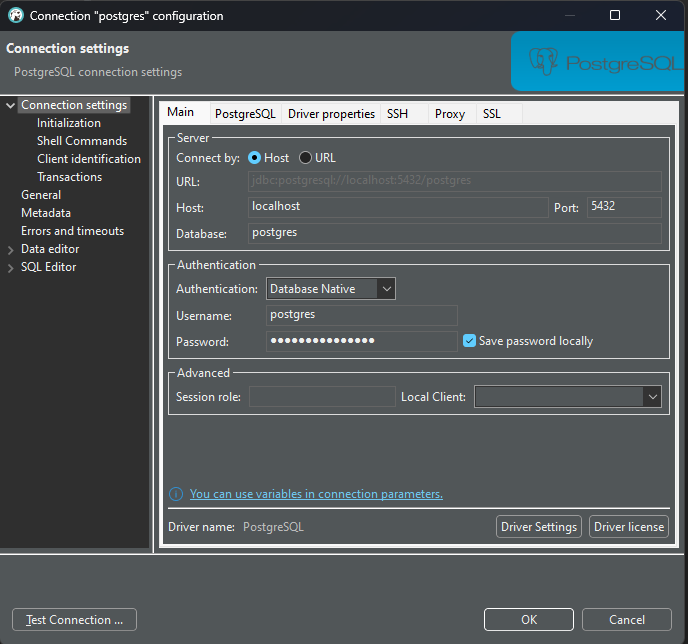
to connect to the database over terminal. However, connecting to the fly.io database with an app like DBeaver is a little tricky. You need to first open an SSH tunnel using the command in your terminal
flyctl proxy 5432 -a your_db_name
Then you can connect through DBeaver using localhost and port 5432.
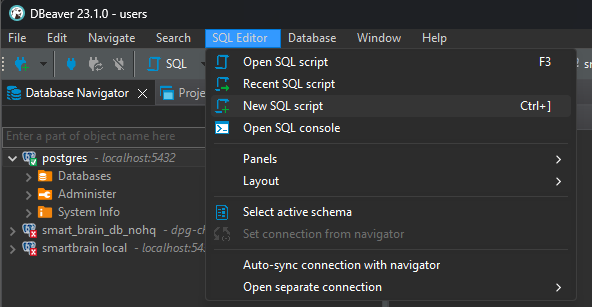
Step 7: Set up PostgreSQL database
In DBeaver you can go to “SQL Editor” -> “New SQL script”.
For my project I used following code for making tables
CREATE TABLE users (
ID serial PRIMARY KEY,
name VARCHAR(100),
email text UNIQUE NOT NULL,
entries BIGINT DEFAULT 0,
joined TIMESTAMP NOT NULL
);
CREATE TABLE login (
ID serial PRIMARY KEY,
hash VARCHAR (100) NOT NULL,
email text UNIQUE NOT NULL
);
Run the code with a click on the “Execute SQL script” orange icon. Your database should be set up now.
Step 8: Connect the PostgreSQL database to the back-end app
In your back-end code, change the database connection info to the info you got in step 5.
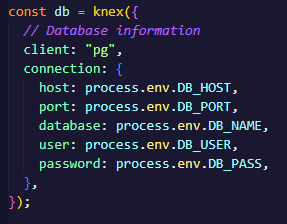
You can also use environmental variables for storing that info. They are called Secrets in fly.io dashboard.
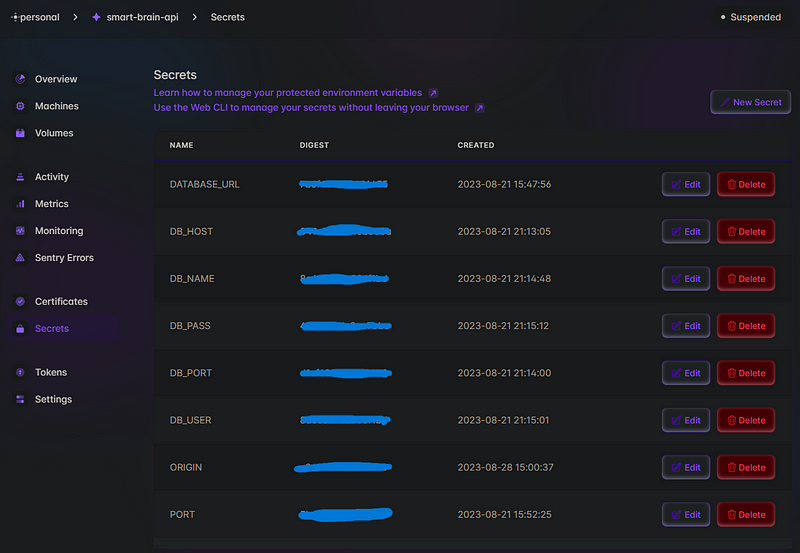
Don’t forget to redeploy with fly deploy after adding secrets or changing back-end code!
Back to front-end app
Step 9: Connect front-end with the back-end
Edit the front-end code and change old Heroku links with the fly.io links. Below is an example in Node.js.
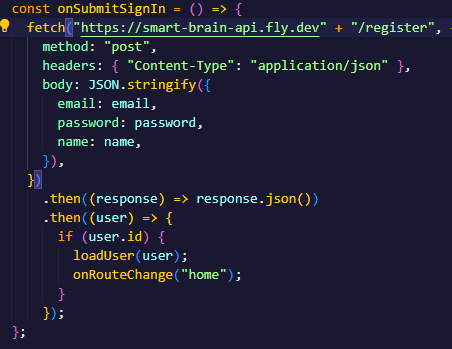
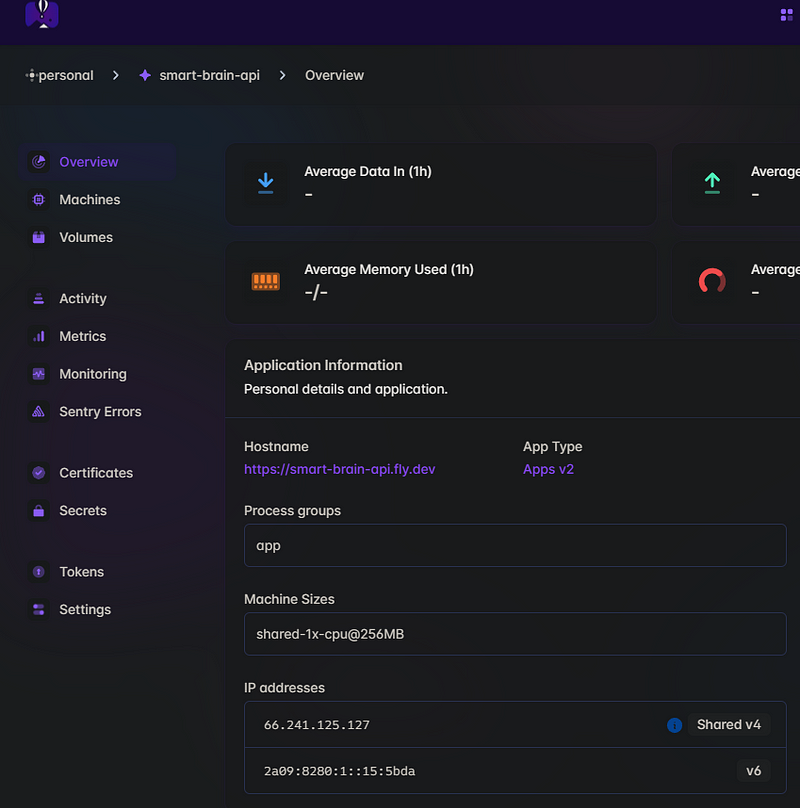
You can find your new hostname at your app overview under “Hostname”.
Push the changes to your Github and Render will automatically deploy the front-end app.
That’s it! I hope it went well for you 🙂
Feel free to check the project that I used this procedure on:
Front-end (using newer Clarifai REST API): dominoto/smart-brain-hooks: Converting smartbrain frontend app from class to hooks (github.com)
Back-end: dominoto/smart-brain-api: Back-end part of final project for ZTM Web Dev course (github.com)
If you found this helpful, feel free to  🙂
🙂